How to Make Sweet-Filled Paper Pumpkins for Halloween
Looking for a fun crafting idea to keep the kids entertained, or a unique way to hand out treats this spooky season? Follow our easy step-by-step guide to making DIY paper pumpkin decorations filled with sweets!
You will need:
- Orange tissues, crepe paper or tissue paper (or any soft paper that you can colour or paint orange)
- Pencil
- Bowl (diameter approx. 20cm)
- Scissors
- Sweets of your choice (a few per pumpkin)
- Green tape (or tape of a different colour that you can colour or paint green)

1. Draw a circle
Start off by drawing a circle on 1-2 layers of orange tissue or paper. How much you use here will depend on the thickness of the paper, and you may need to use more if your paper is really thin.
To help draw a perfect circle, find any circular object, such as a bowl, large candle, or a small flower pot etc. Flip it upside down, and draw around the object.
2. Cut the circle out
Next, cut out the circle you have drawn using scissors. If you want to make more than one pumpkin, you can try to cut more than one sheet at a time by stacking the sheets of tissue or paper.
3. Add your sweets
Now you’ve cut out your circle, place your choice of sweets in the centre of the circle. For this, it’s recommended to use only 4 or 5 sweets (depending on the size of them) so the pumpkin will still have a circular shape once formed.
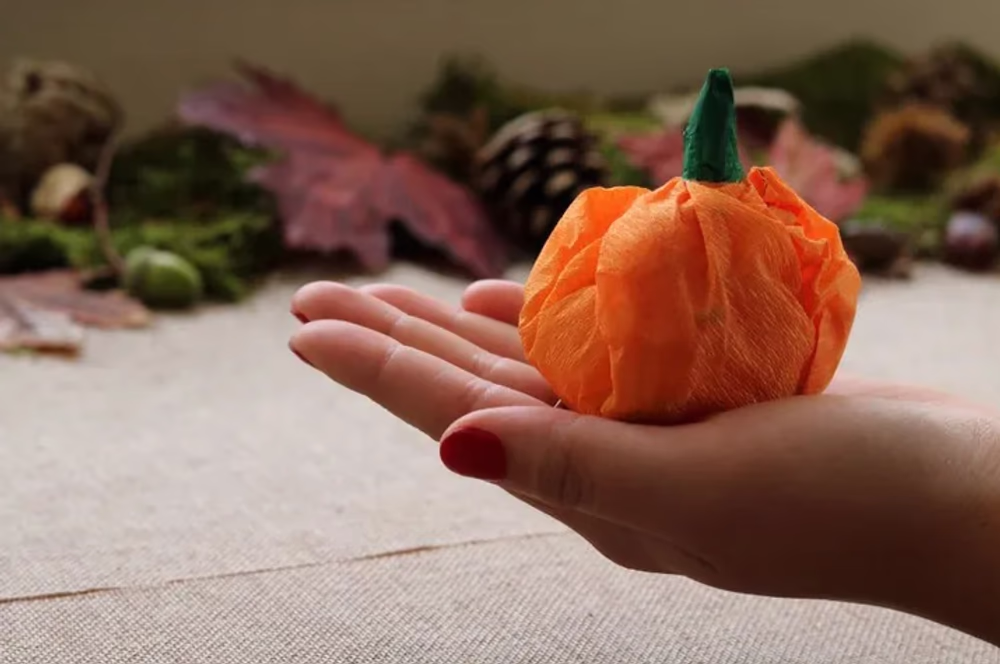
4. Fold together
Then, join the ends together to form a nice pumpkin shape by pulling the edges into a point. You should now have a rounded base with a ‘pumpkin stem’ looking top.
5. Tape it closed
Finally, cover the tip with your green tape to seal it up, and your pumpkin is ready. However, if you chose to use a different coloured tape, all you need to do is paint it green.
And voila!
Your pumpkin treats are ready! Include these around your home as decor, or give them out as treat bags on Halloween night.